Hi everyone.
My post today will take you to a new tomorrow, a brighter future with no limits.
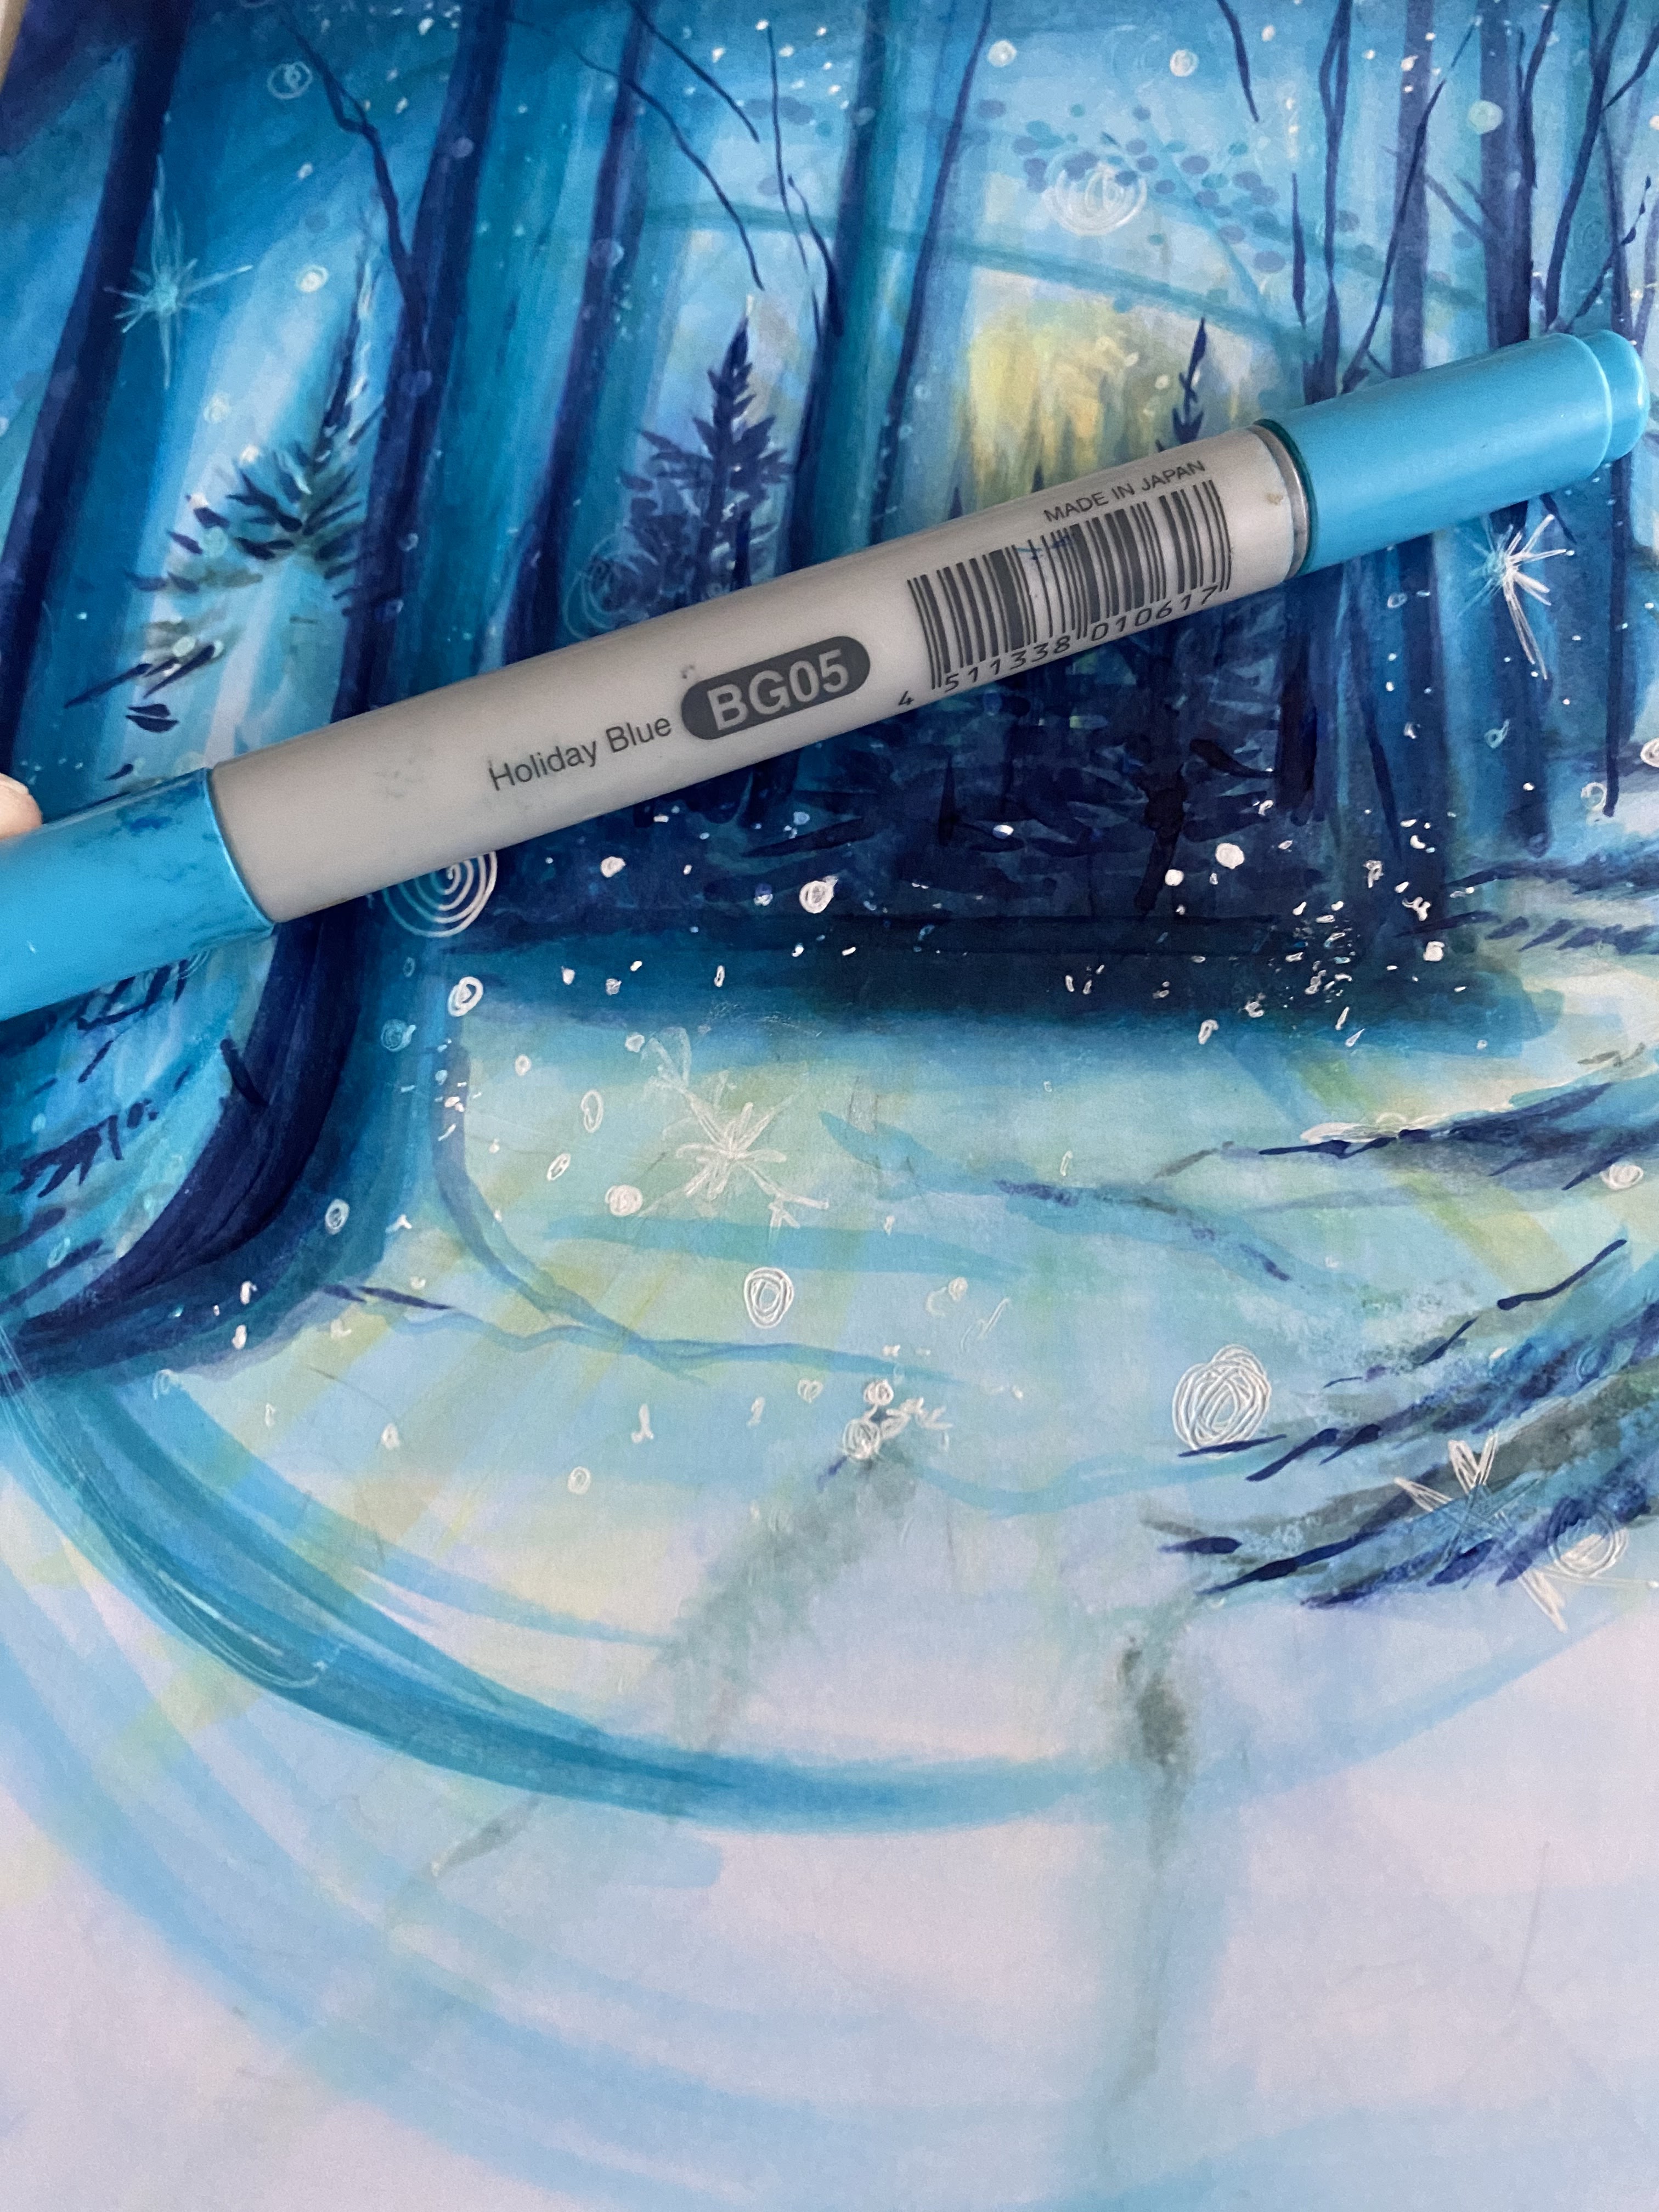
The stamp is from Colorado Craft Company, "Into the sunset".
I want to thank you for these three years, it has been so fun.
Please join me at Instagram or follw me on YouTube.
Wish you all a colourful future.
Love
Helen
My post today will take you to a new tomorrow, a brighter future with no limits.
The stamp is from Colorado Craft Company, "Into the sunset".
I want to thank you for these three years, it has been so fun.
Please join me at Instagram or follw me on YouTube.
Wish you all a colourful future.
Love
Helen